


Desktop Instructions
for Schoology Groups
Click these links to jump to a specific area of the guide:
Log in to Schoology
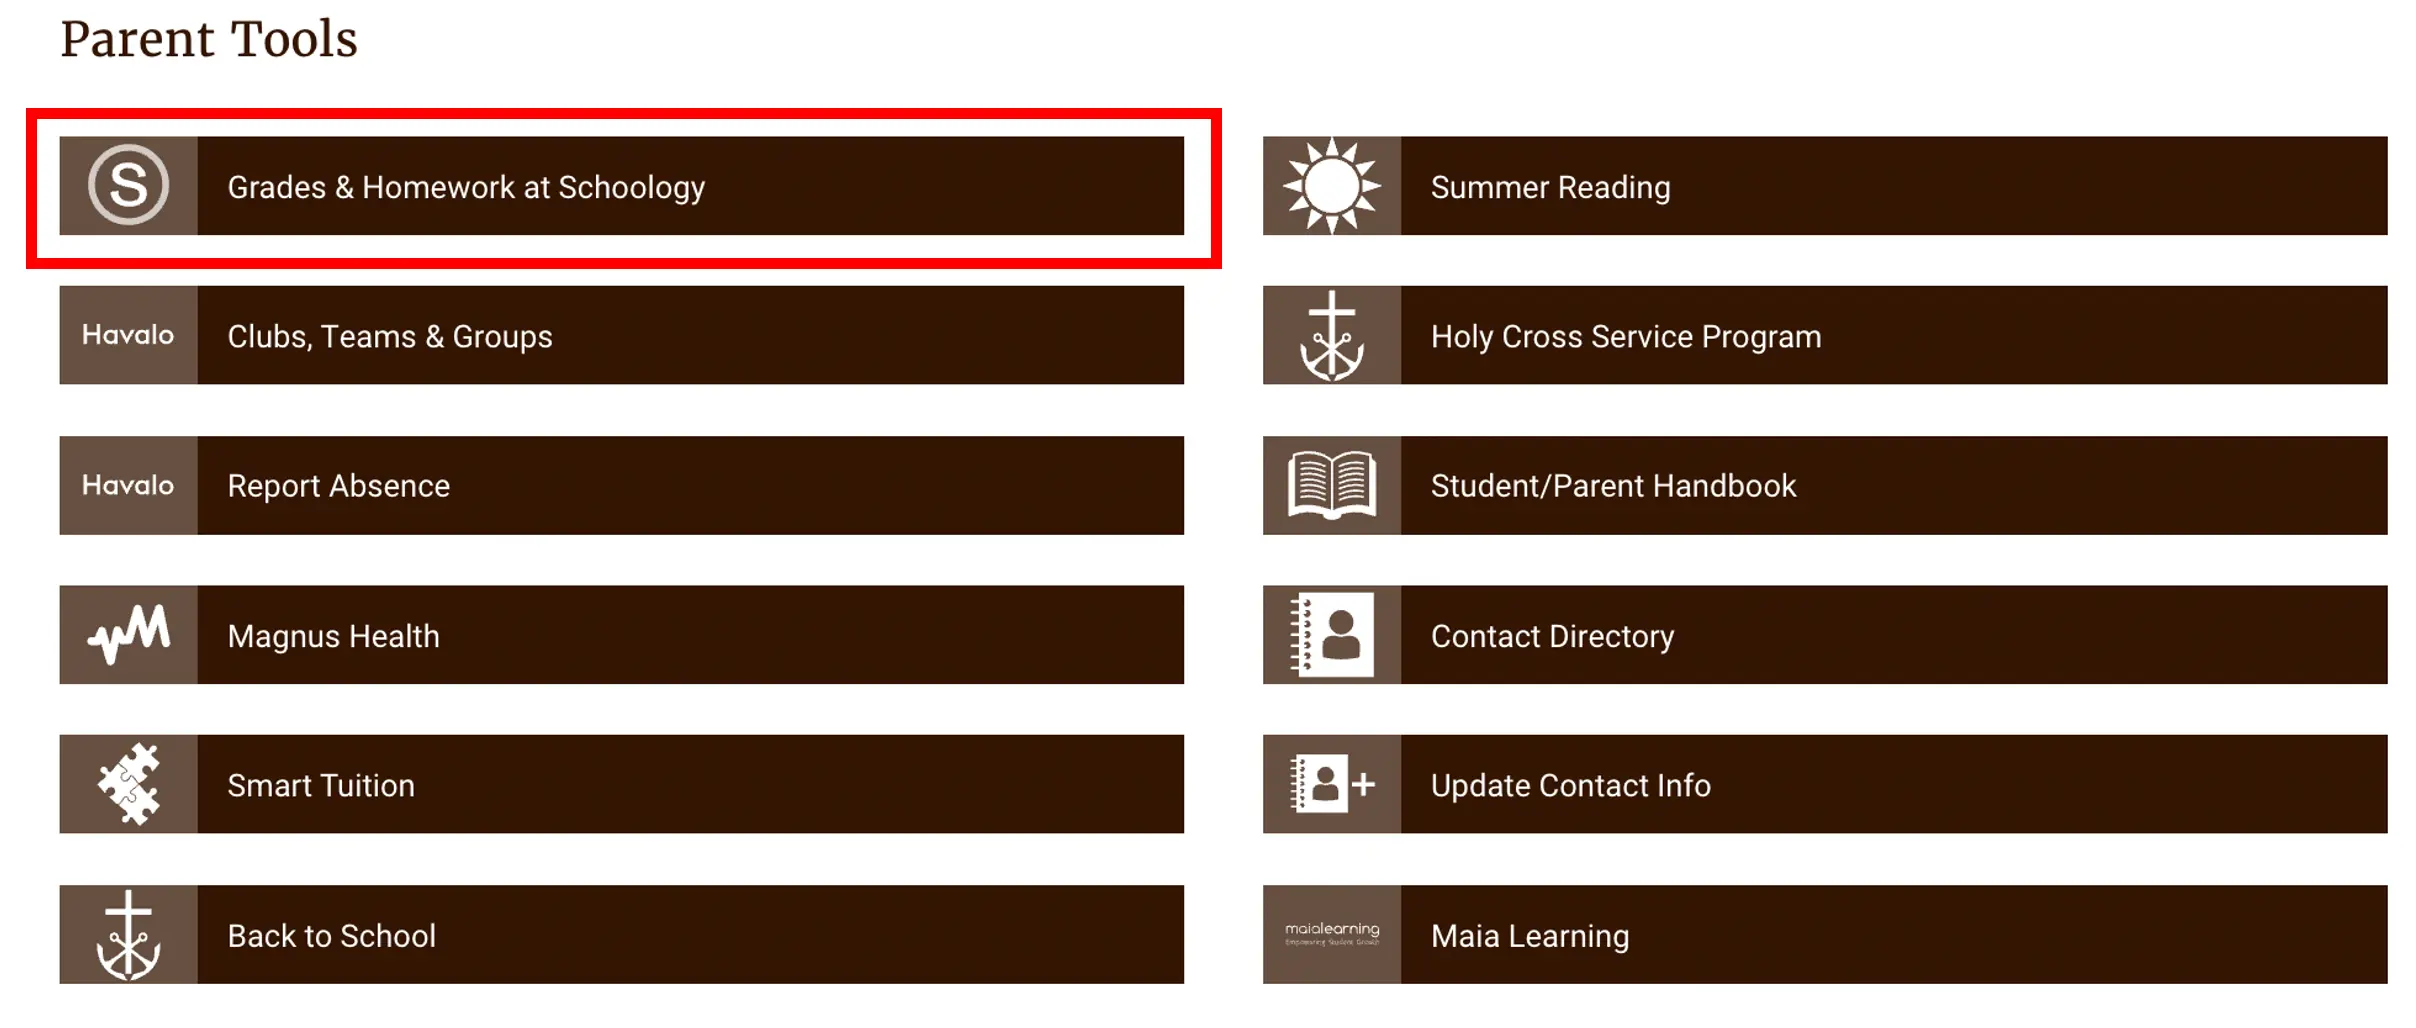
- Log in to the Parent Dashboard, using your Saint Francis username and password.
- Under Parent Tools, click on the link to Grades & Homework at Schoology.
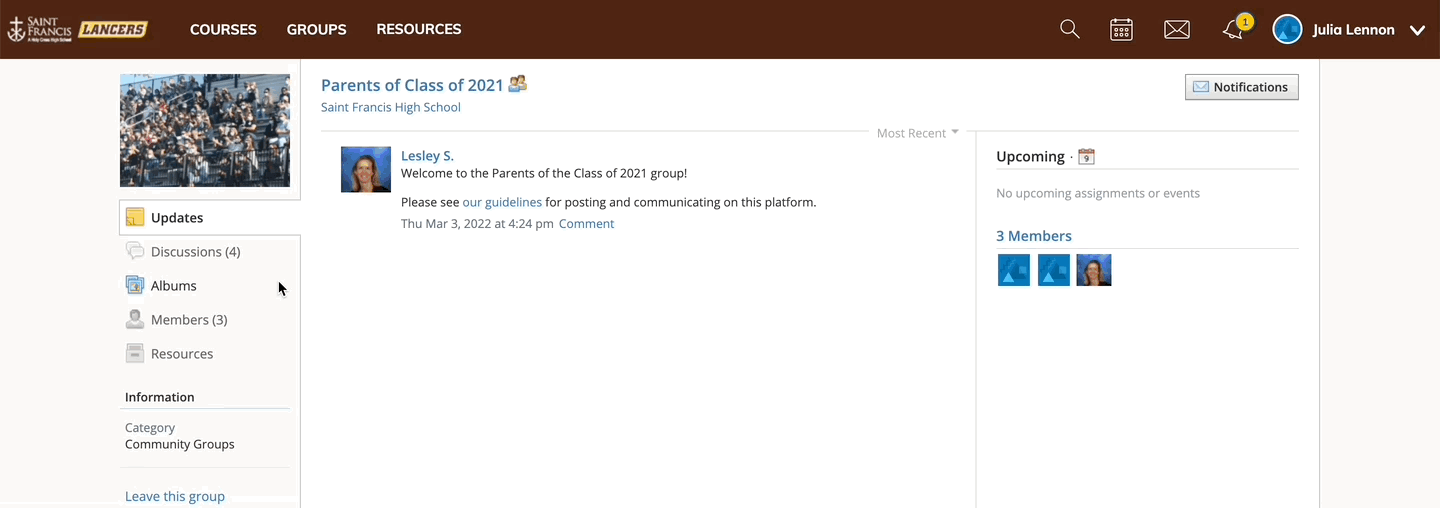
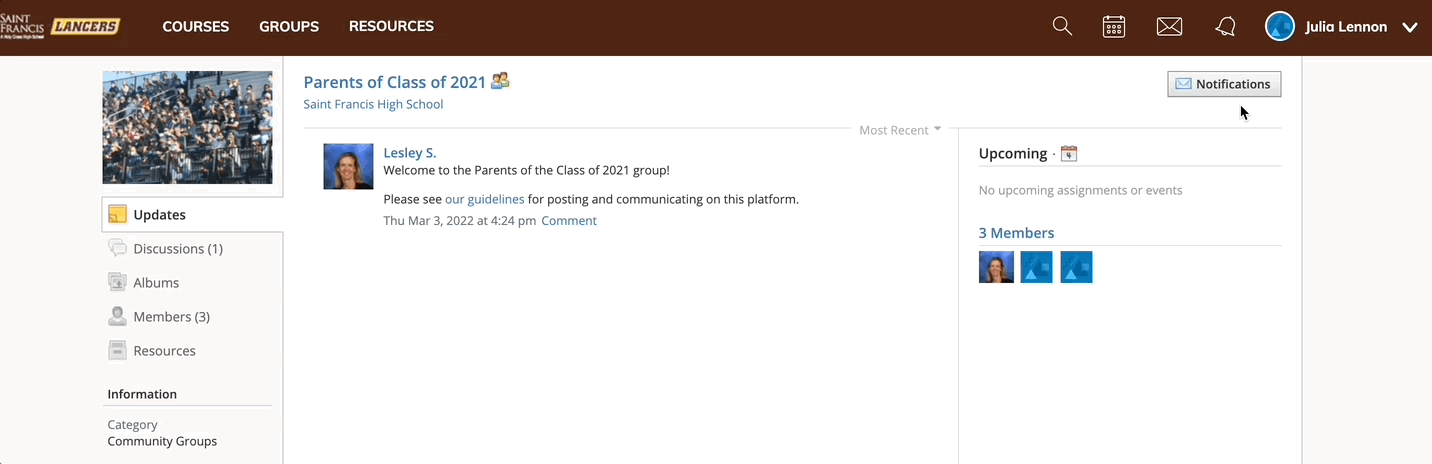
Locate the Group
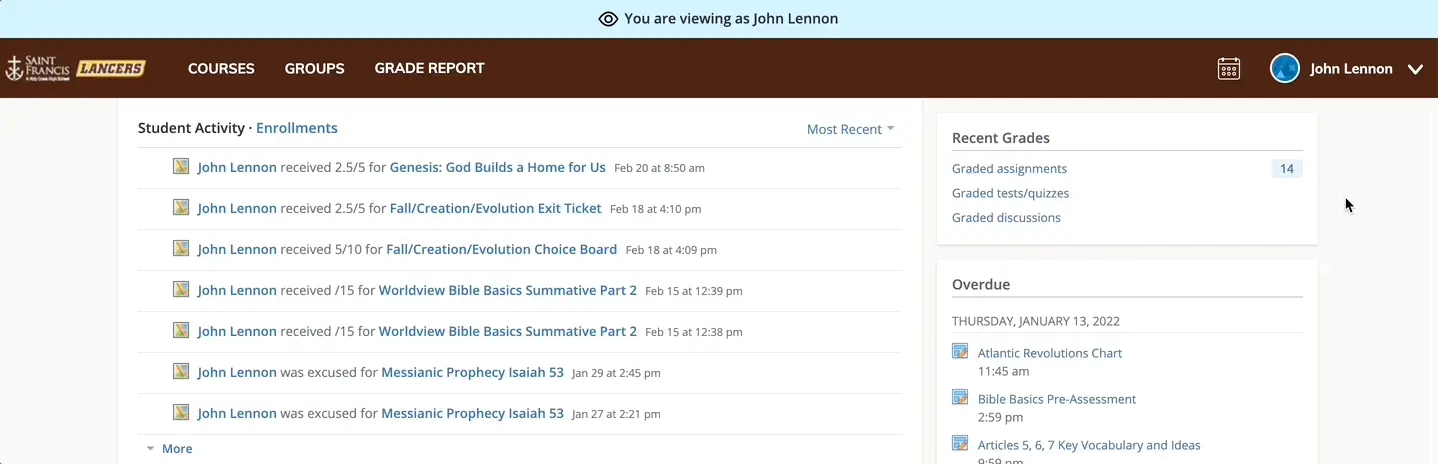
- Make sure that you are viewing Schoology through your own account, not your student's. You can determine which view you have by looking at the name in the upper right corner of the screen. If you are on your student's account, click on the drop down menu next to your student's name, and select your name instead.
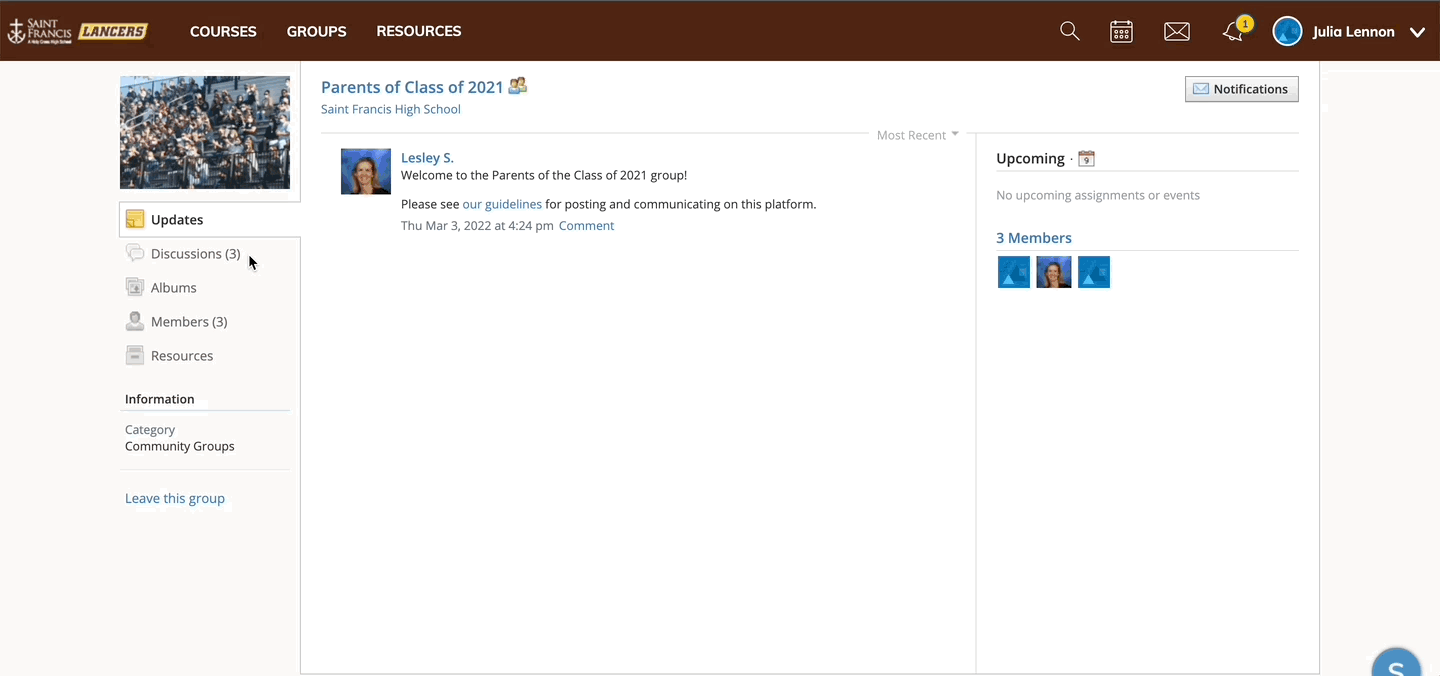
- Click Groups at the top of Schoology.
- Select the group: Parents of Class of ____.
Manage Notifications
Schoology can send you email and/or text notifications for Group activity that occurs in your account. By default, you will receive email notifications when a group update is posted and when someone comments on a post you have made. There are two other email notification settings that are turned off by default: group comments on updates or discussions, and group content created. Text notifications need to be set up manually.
To view and adjust EMAIL notifications:
- Open the Parent Group.
- Click on Notifications in the upper right.
- Check boxes to turn on the notification, uncheck boxes to turn off the notification.
- Click Save Changes.
To set up and adjust TEXT notifications:
- Click your name in the top right corner of any page in Schoology and select Settings.
- Click the Notifications tab.
- Select the Send Notifications to Your Phone via Text Message box to the right.
- Enter your Cell Phone Number (your number remains hidden from other members).
- Choose your Country.
- Select your wireless Carrier.
- Click Set Mobile to complete.
- Scroll down to the School Groups section. Go through the notifications options for mobile and turn on or off as you wish.
- Click Save Changes.
*Note: You can also adjust email notifications in this screen.
Participate in Discussions
To start a discussion:
- Click Discussions in the left-hand menu.
- Click Add Discussion.
- Add a title and description (optional) to the discussion. The description area allows you to add links, file attachments, and images if you so choose.
- Click Create to complete.
To reply to a discussion:
- Click Discussions in the left-hand menu.
- Click on the discussion to which you want to reply.
- Enter your response in the Write a comment box. You can add links, file attachments, and images if you so choose.
- Click Post to complete.